Tampilkan postingan dengan label around. Tampilkan semua postingan

Jumat, 22 April 2016

Garbage 201 Non Plastic Alternatives For Around The Kitchen

,
 
It all started with the Paper or Plastic? debate.  A couple months ago, we decided it was time to purge items containing plastic from our home.  We also decided that its pretty much impossible, so we prioritized and started with the area of our home where food is stored & prepared.  While we know its a never-ending battle, Im happy to say we did find some great non-plastic alternatives to use around our kitchen and food.

After we recycled our plasticware, the SSL Family Dad and I took a trip to some of our local thrift shops.  We just love utilizing thrift shops for a number of reasons.  First of all, they are way cheaper than buying brand-new.  But I also love buying second-hand items that didnt end up in a landfill somewhere.  And they are almost always locally owned and we always try to support local businesses as much as we can.  So thankfully, we found some stainless steel spatulas and glassware for 60 cents for each item.

After we brought our pre-owned haul home from the thrift shops, we set a budget and hopped online to find non-plastic replacement items for our kitchen.  We had a couple rules of thumb to follow.  First, no plastic parts (as much as possible).  And secondly, try to find items made in the USA (unfortunately this was extremely difficult). 

We also learned how to use some items we already have a little differently.  And after two months of using these items, I can honestly say we are still very happy with each purchase we made.  Heres what we found.

Food Storage
http://amzn.to/1CWeZPK

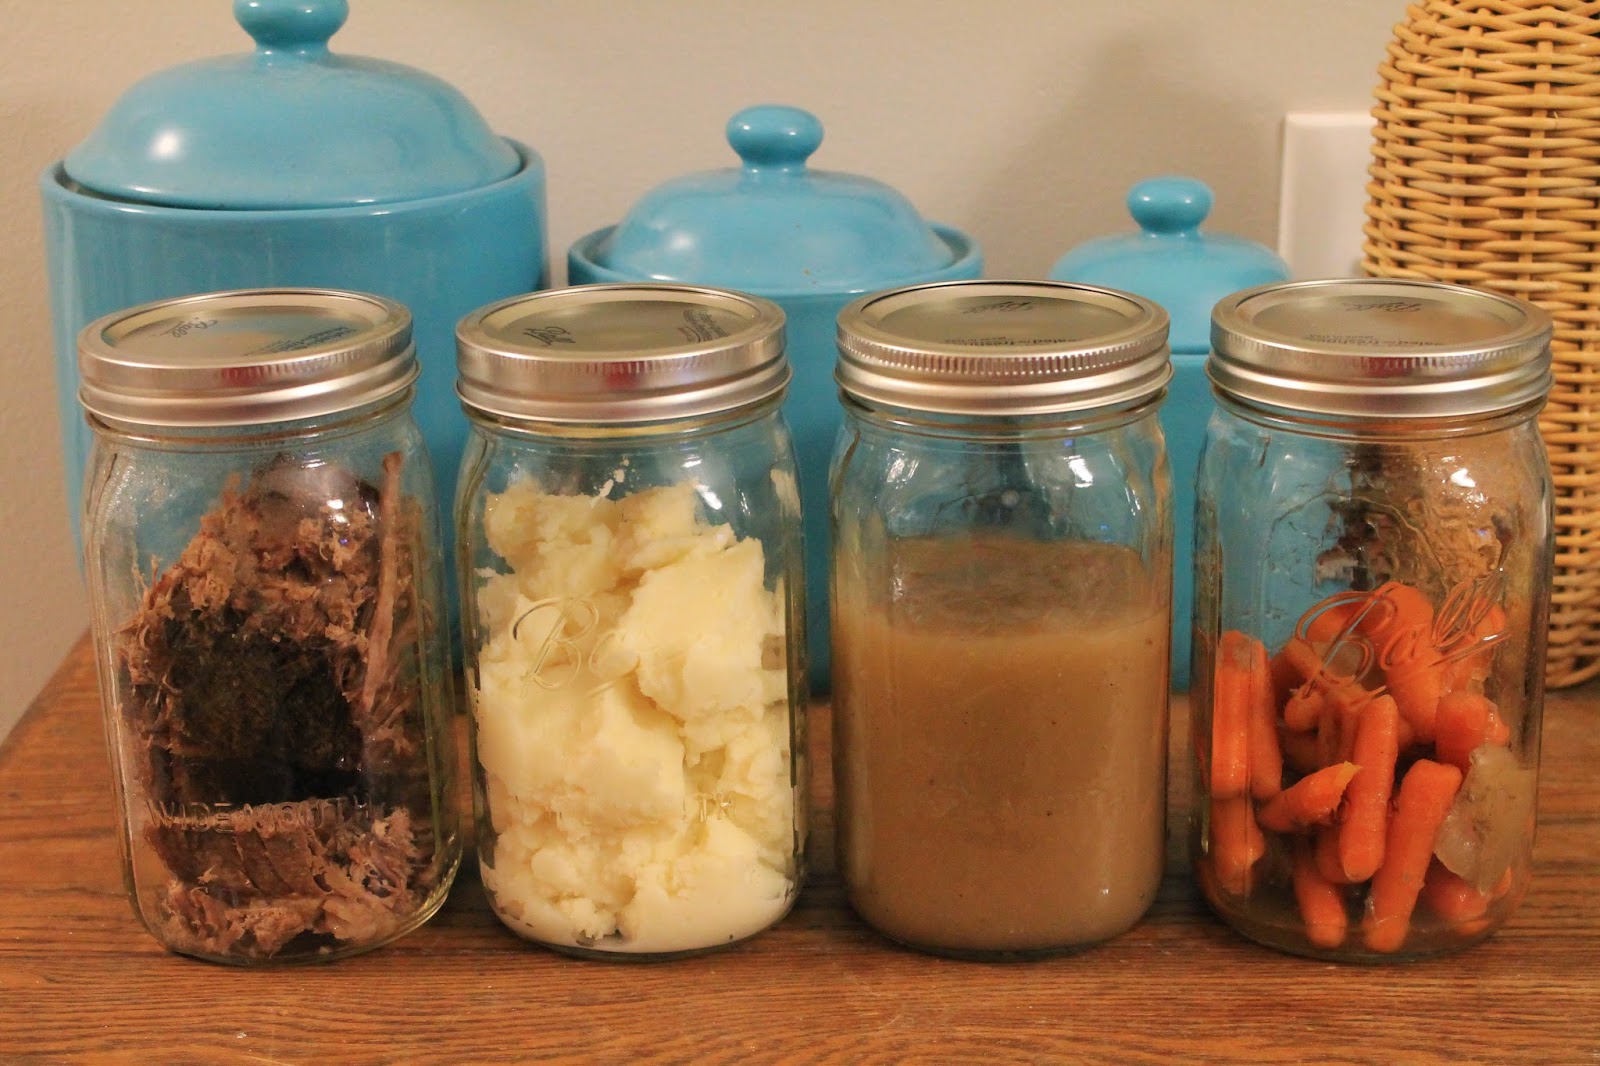
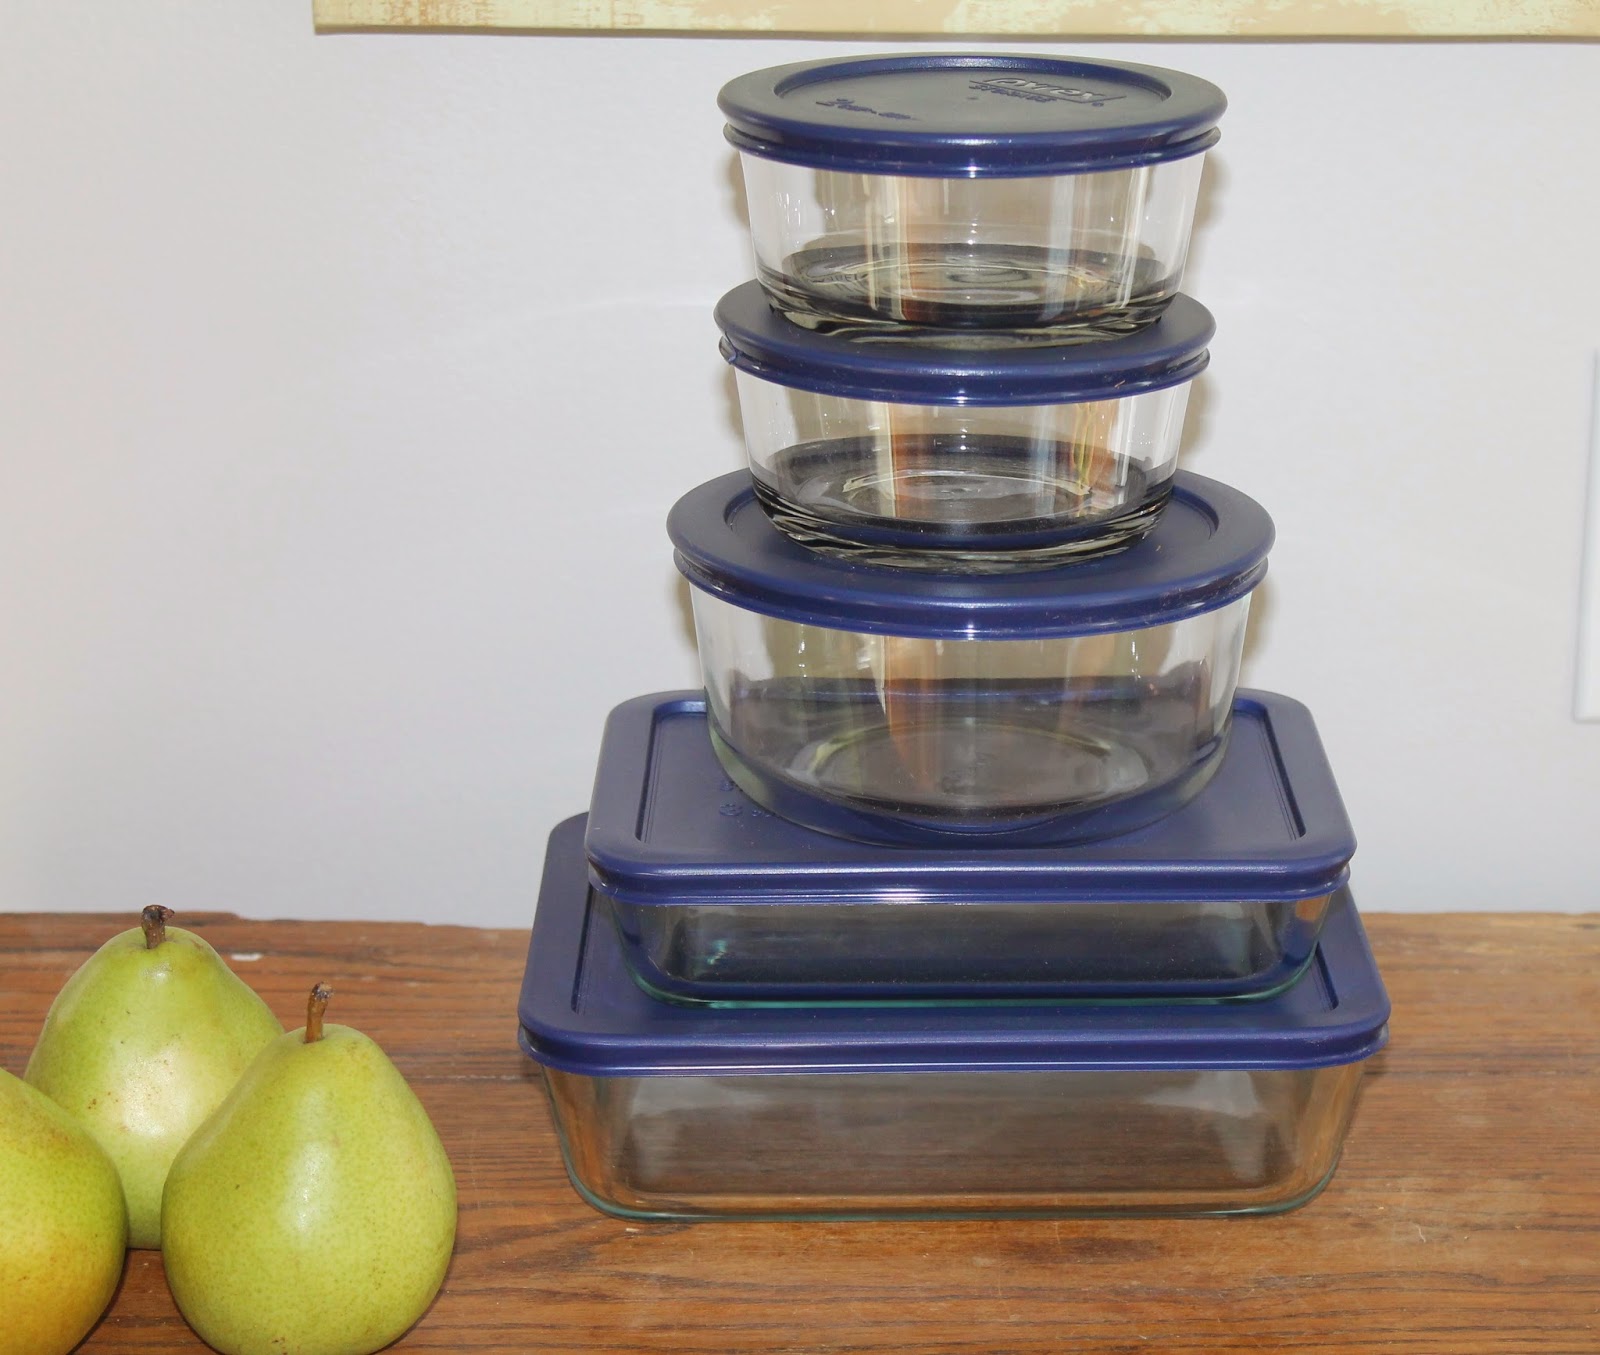
Instead of plastic storage containers, which we had tons of, we now use Mason jars and glass storage containers.  I have always hated the fact that you cant use canning lids again, so this is a great way to reuse your lids.  And although these Pyrex glass storage containers do have plastic lids, they almost never come in contact with our food.
http://amzn.to/1EM0256


School Lunches

School lunches were a little challenging for us.  We pack the girls school lunches everyday in reusable lunch boxes, but every piece of food we packed was almost always wrapped in plastic or put in a plastic container of some sort.  Thankfully, we found some nice alternatives to use. 

These stainless steel containers work perfectly for sandwiches.  We just love these containers.

http://amzn.to/1GSp0z6


We also found these waxed paper bags.  We are amazed at how much food can fit into each bag, they are definitely big enough to hold a large sandwich. 
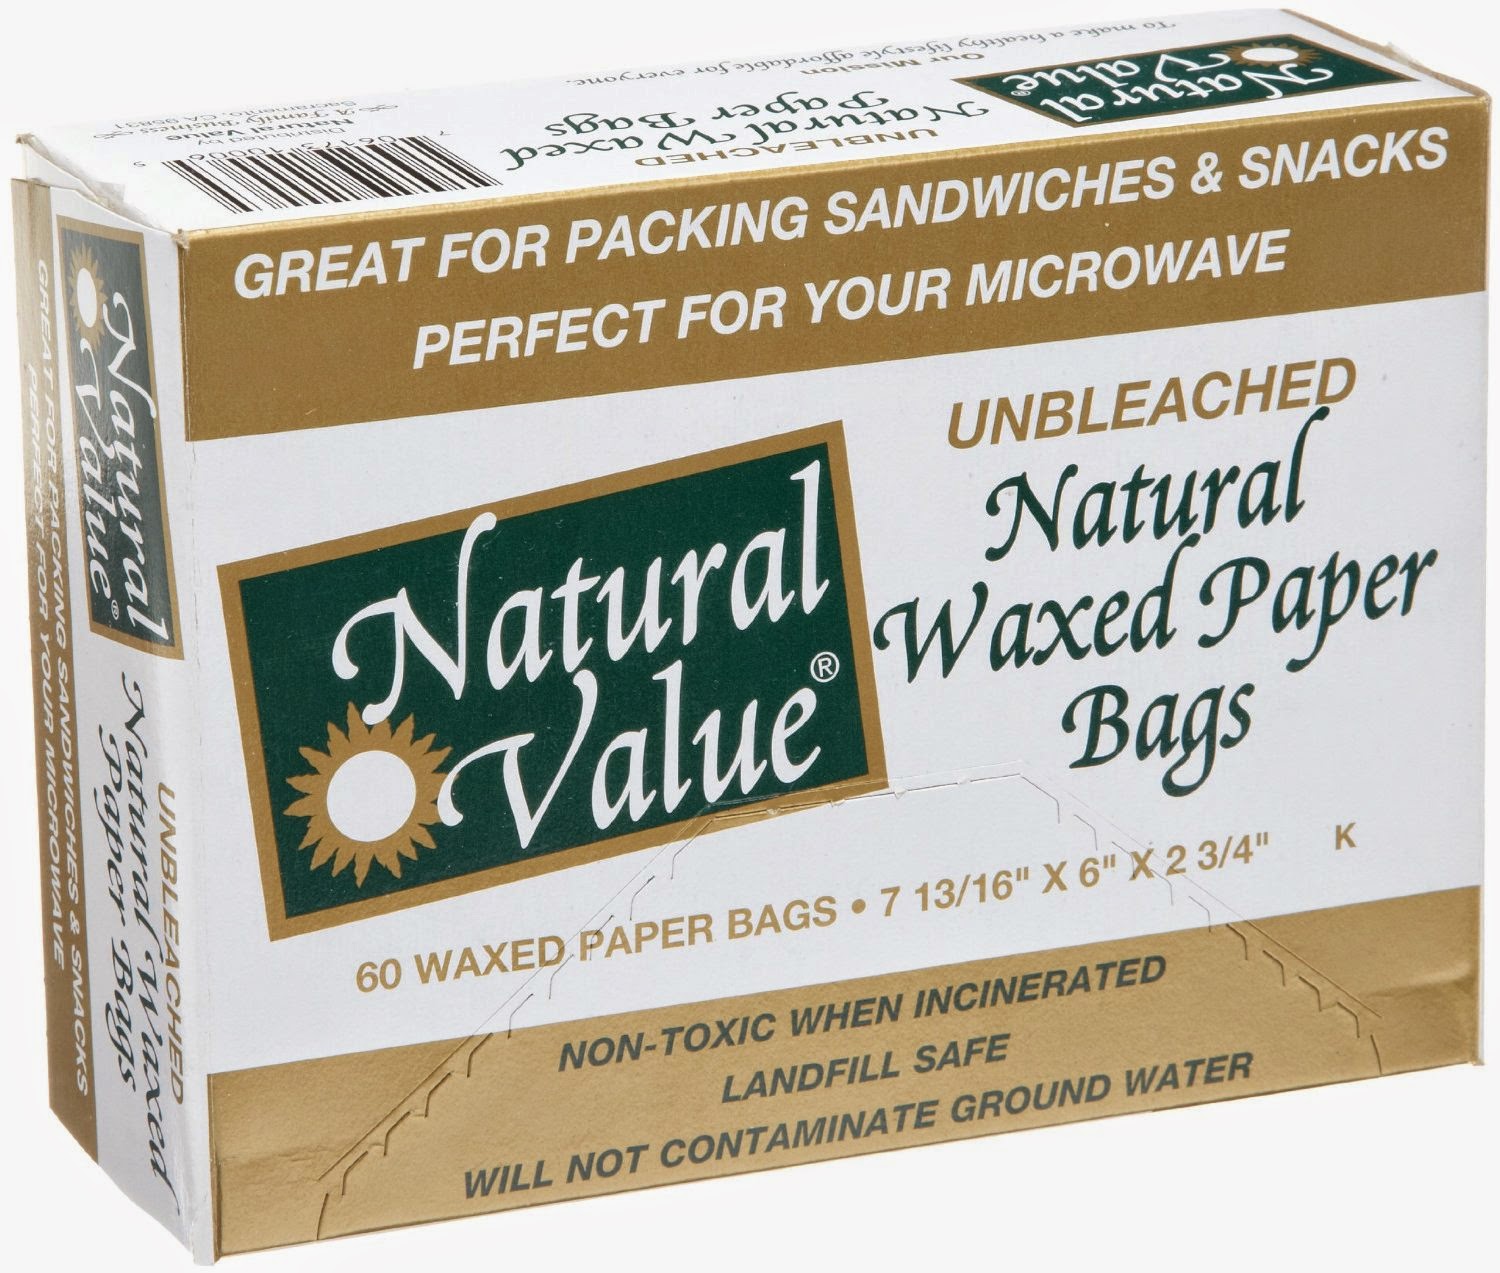

http://amzn.to/1GSp81F


Since we no longer buy water in single-use plastic water bottles, the girls take stainless steel reusable water bottles to school.  The only problem is the spout is still plastic.....still hunting for that perfect water bottle.


Before we move on to more replacement items, let me just remind you again why we are choosing to downscale on plastic.  EVERY SINGLE piece of plastic that has ever been created and thrown away is still in existence today.  It does not decompose.  It leaches chemicals into our food, bodies and animals.  It is also cheaper, faster and easier to make.  And Lord knows, anything that comes easy and cheap aint ever good for us.  Okay, moving on......


Food Preparation

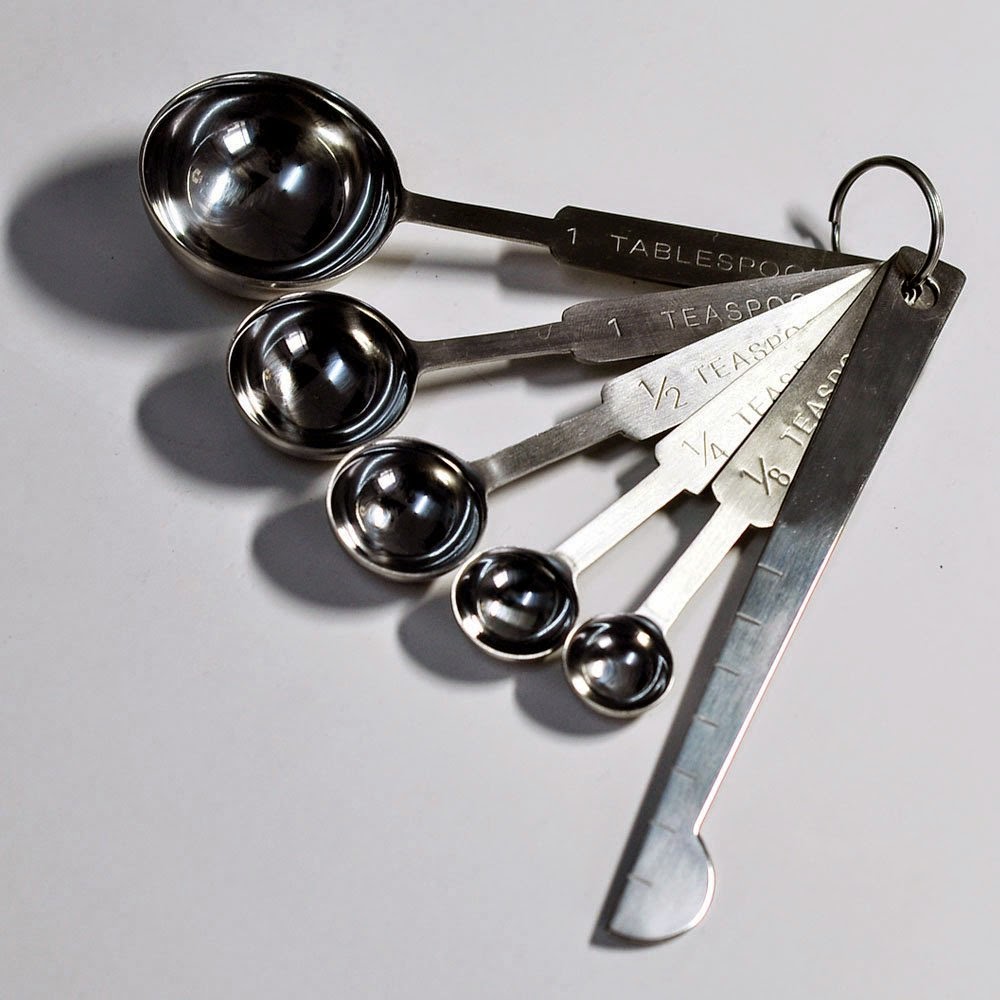
We just love, love, LOVE our new stainless steel measuring cups and measuring spoons.

http://amzn.to/1y5uOnp


http://amzn.to/1Ga1n6i


And these silicone spatulas are my first experience with silicone and they are wonderful.  They have a steel core so they are very sturdy.  There are also coated with silicone with zero seams so there are no cracks or crevices for food to get stuck in. 


http://amzn.to/1NHd57i


These stainless steel bowls are stackable and the sizes are all perfect for our needs.
 
?
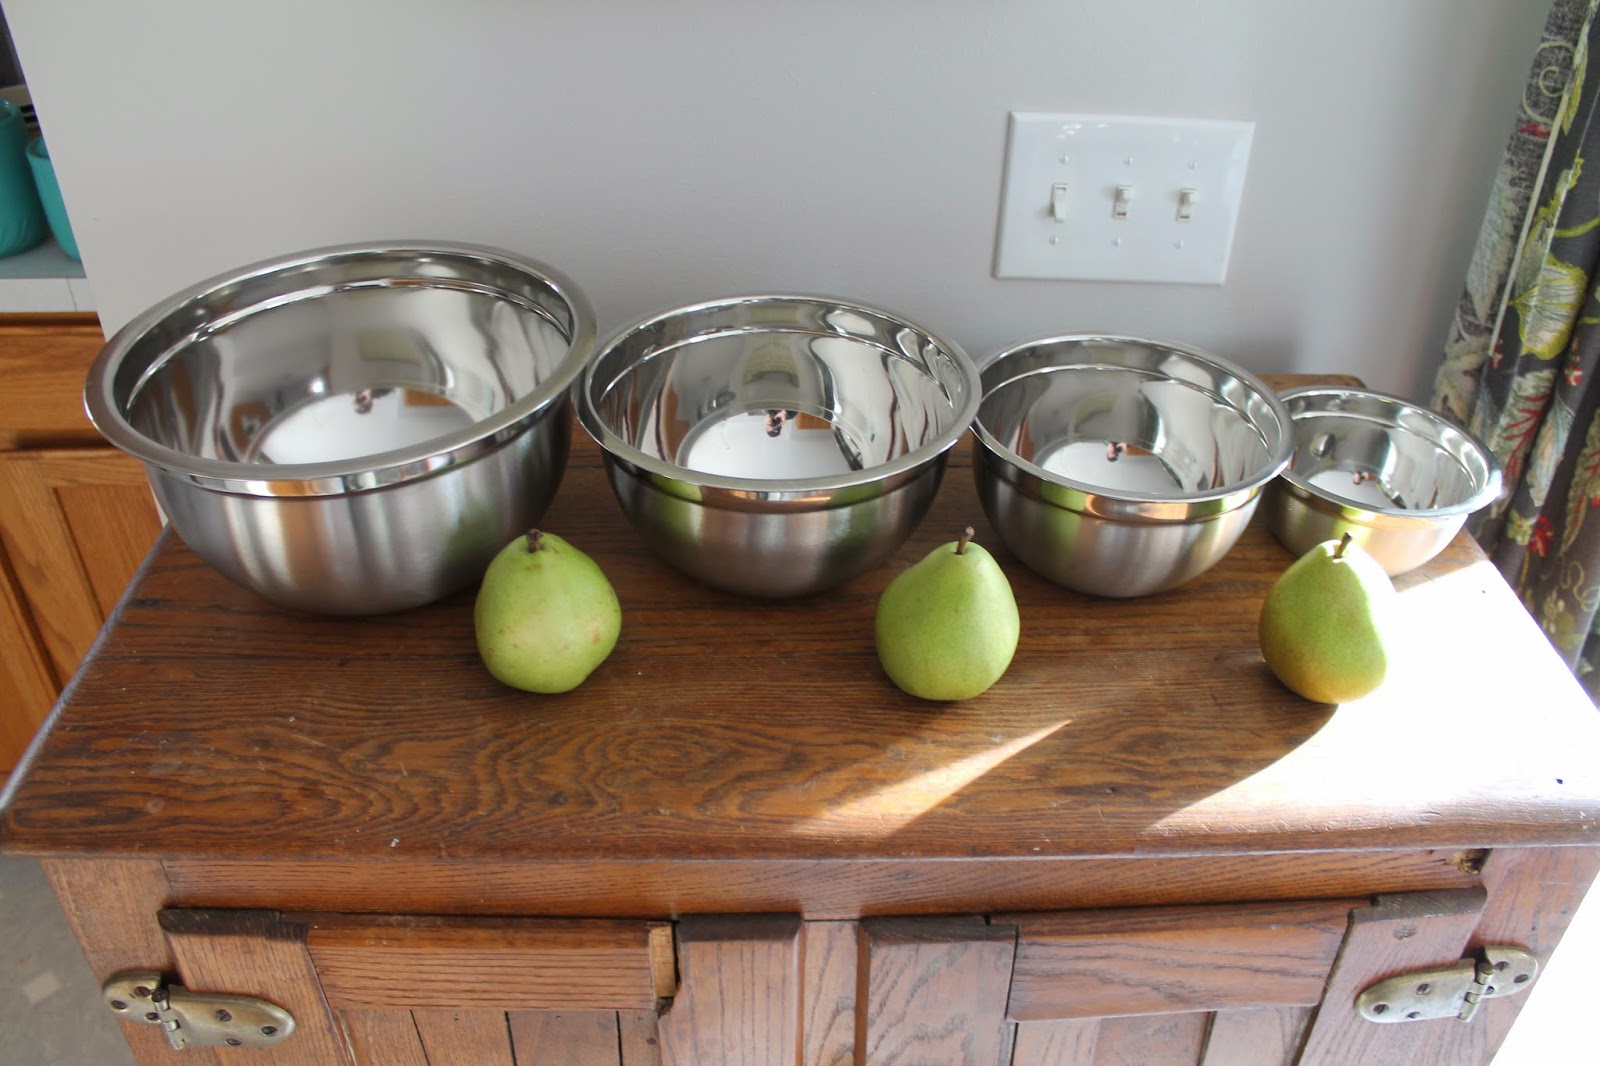
http://amzn.to/1J0P5v3
 
 
Here are some very well-made, heavy-duty stainless steel items (whisk, grater, & spatula) that we just love using everyday.  The spatula is just gorgeous, so shiny I didnt want to use it!  They all clean easily and the handles are sturdy and do not bend. 
 
?


And here is part of our cast iron cookware from The Lodge.  We love our cast iron especially this brand because its family-owned, made in the USA and a great price.
 
 
http://amzn.to/1BYFIau


Our new cutting board is also made in the USA and especially beautiful when freshly oiled.  I love keeping it out on the counter.   This picture doesnt do it justice, trust me.
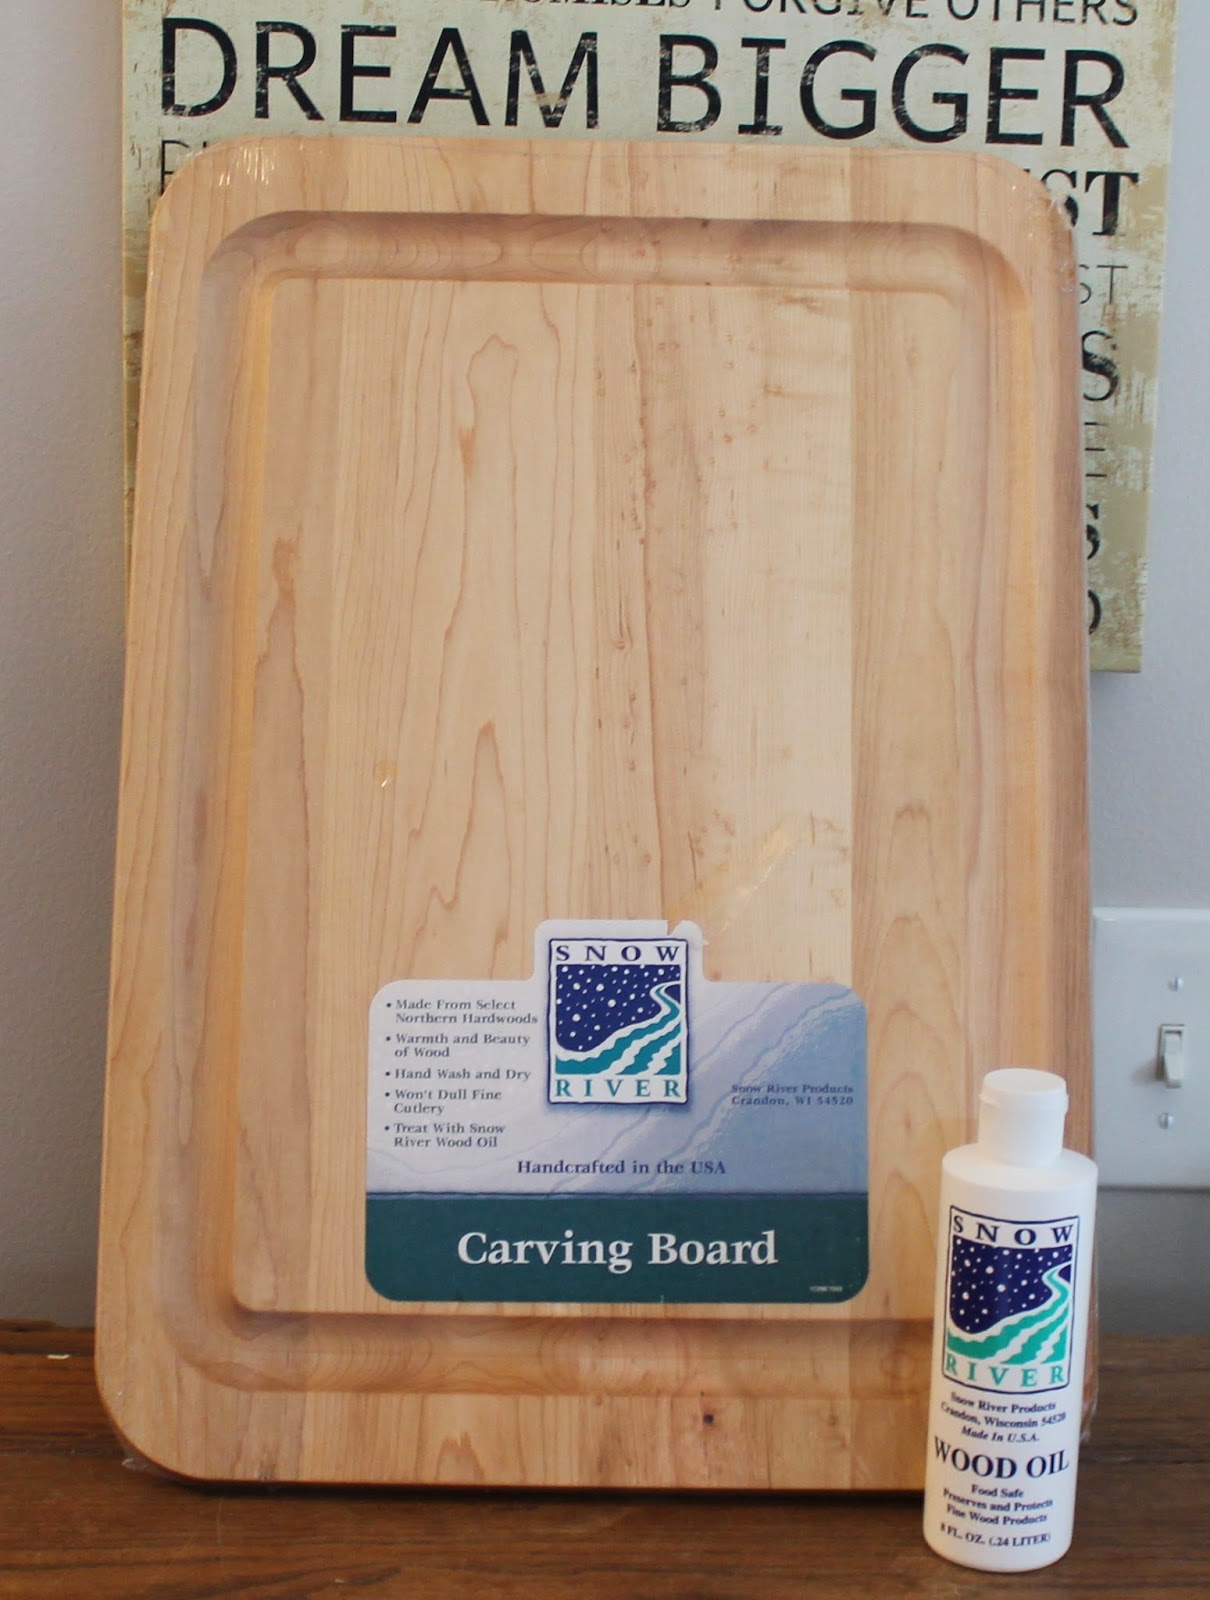

http://amzn.to/1J0S8n2
 
 
We also included something fun for the kids that they just love, these stainless steel straws.  They use them almost every single day.  I wash them in the dishwasher, but they come with a long brush to clean them with, too.
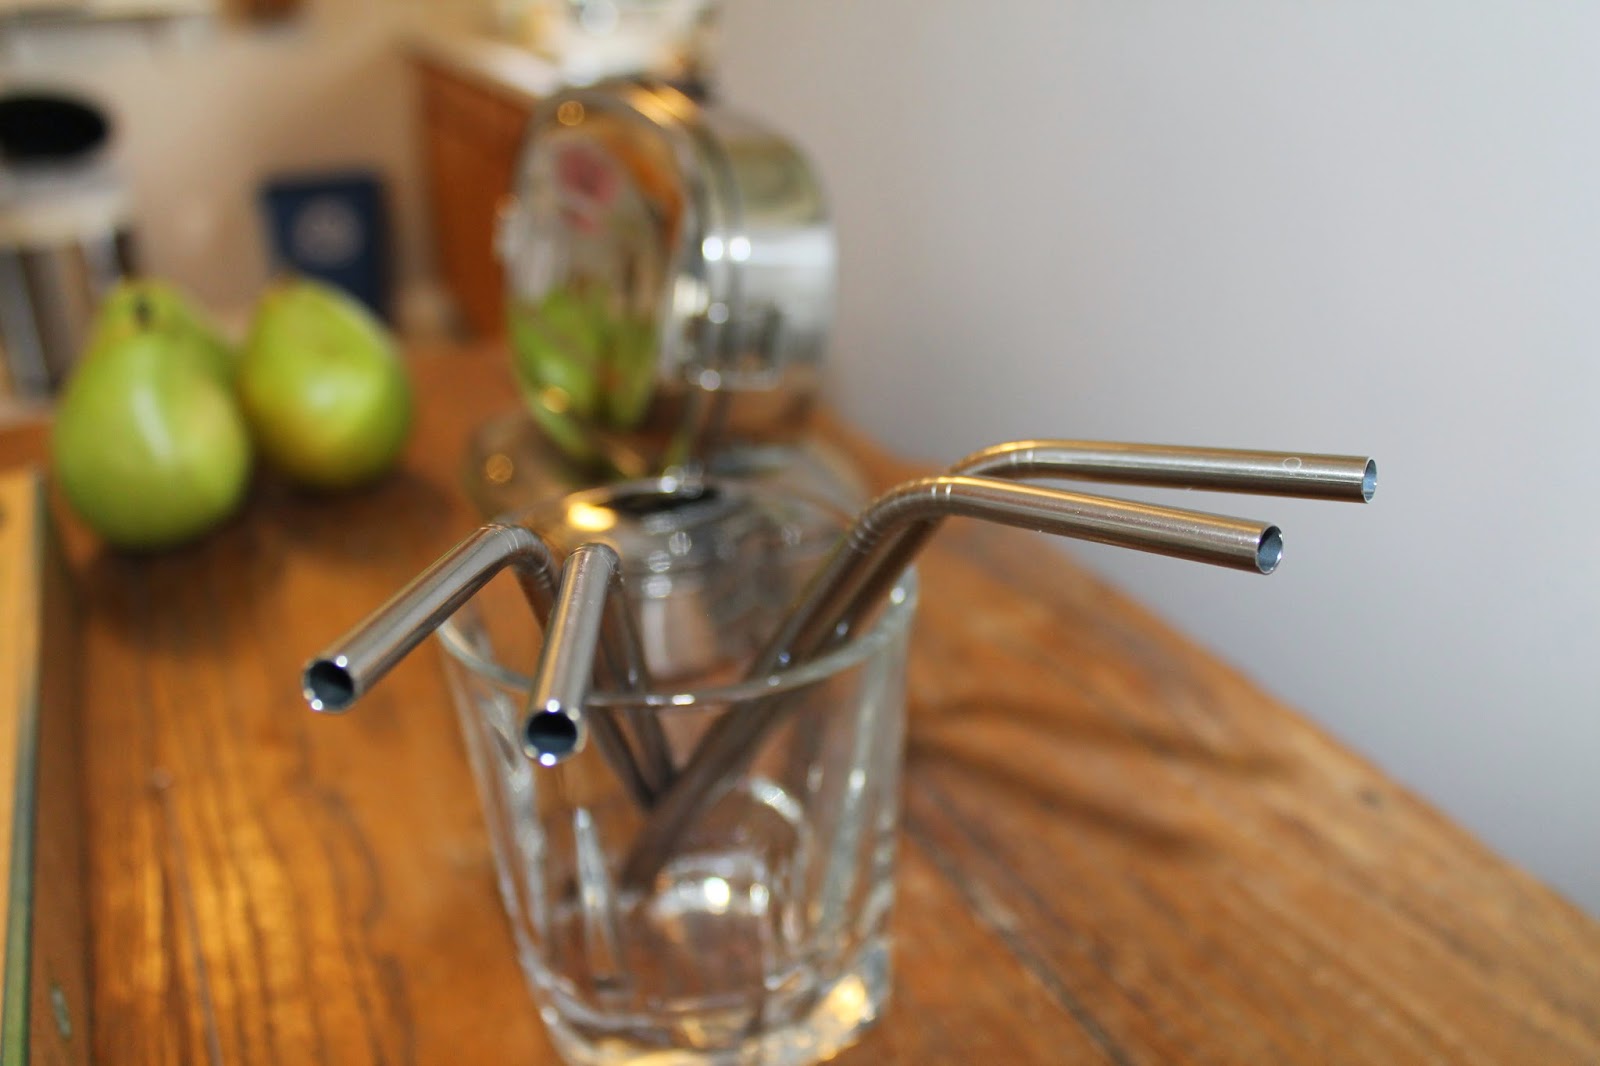
 
 
http://amzn.to/1BYI7SC


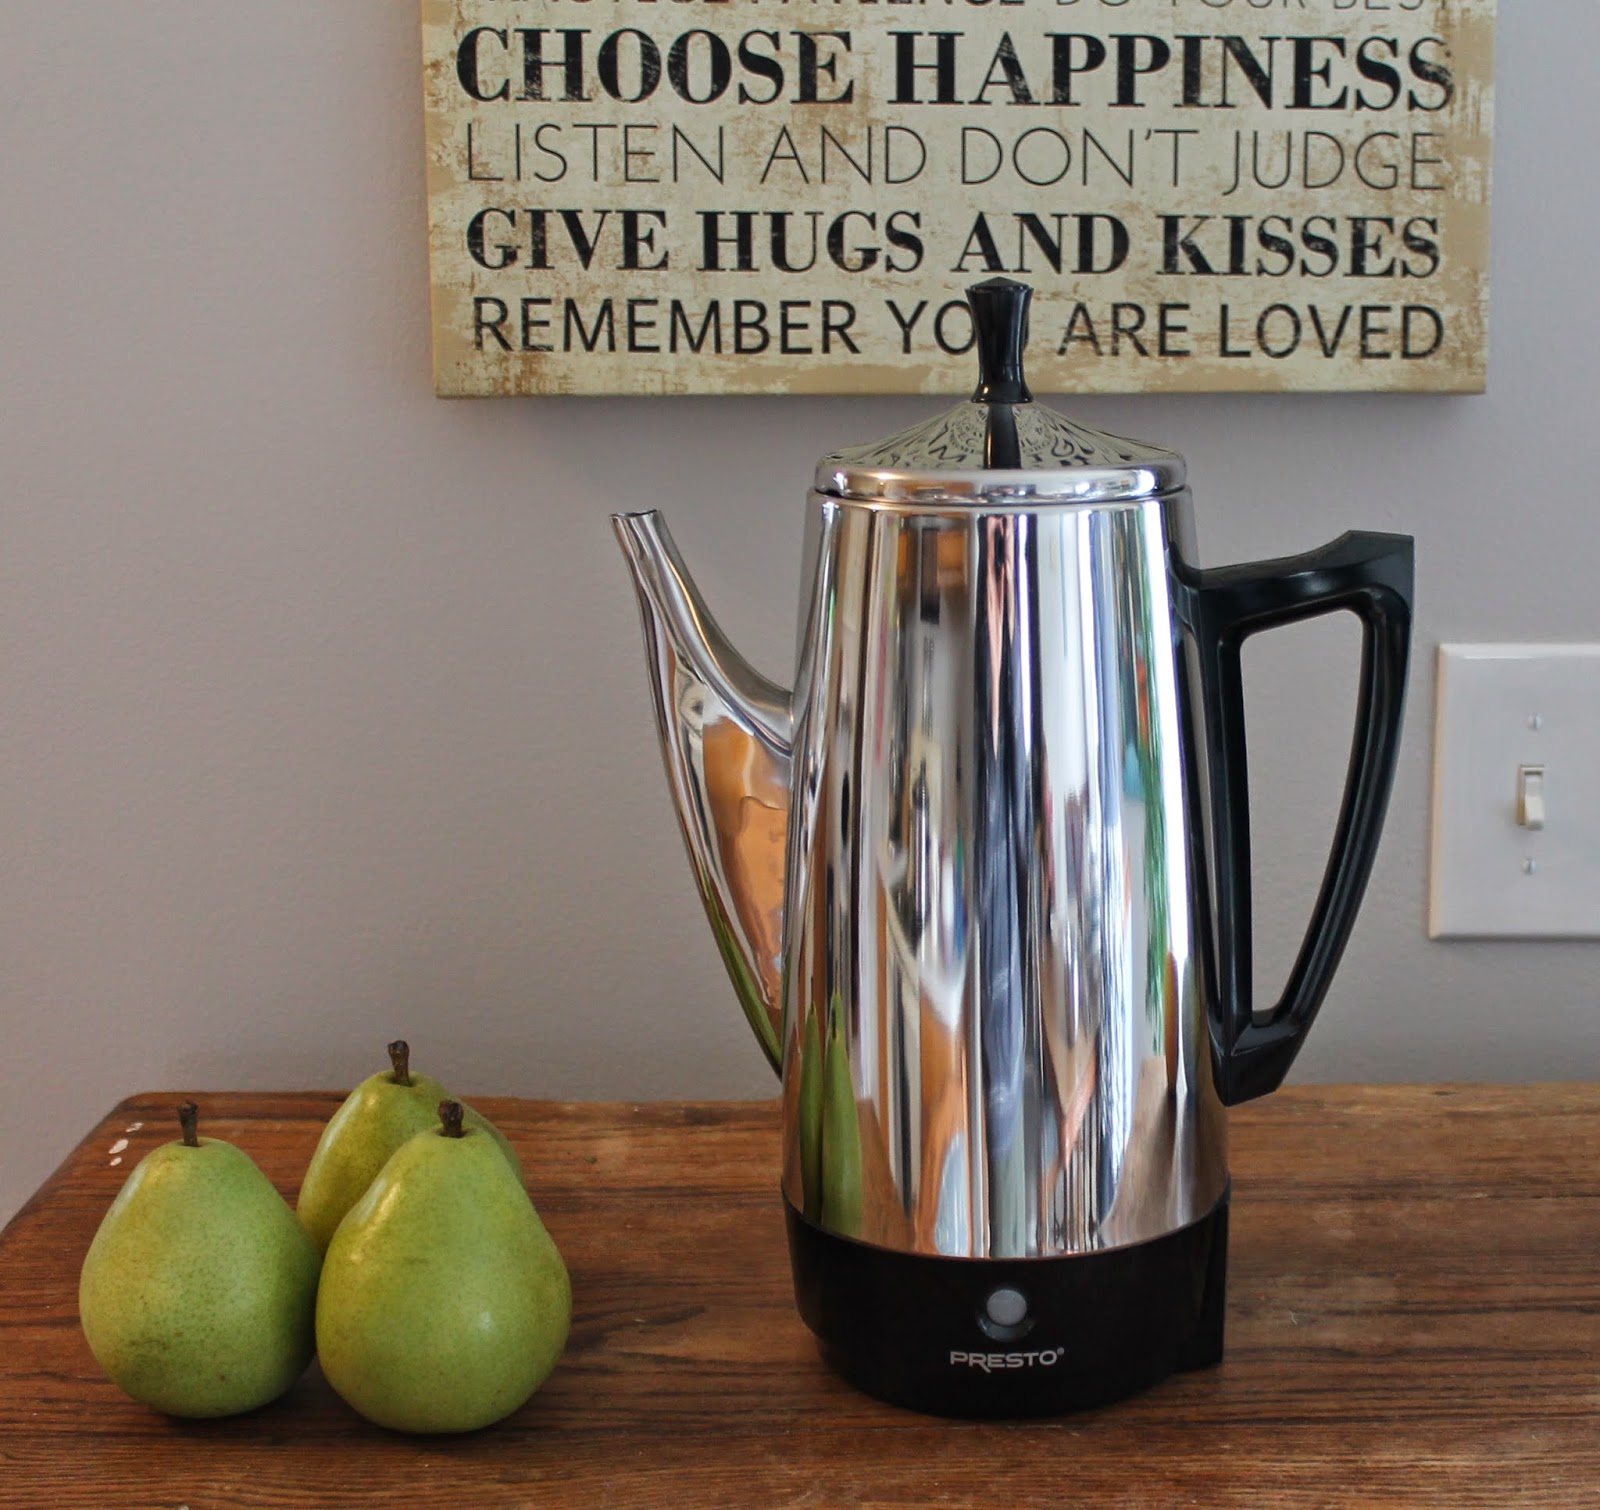
And last but not least, our favorite purchase is our new coffee pot.  The entire inside is stainless steel.  No plastic parts touching hot water.  The other non-plastic coffee pot options were just way too expensive for us. 

http://amzn.to/1ClQ5nG

This pot contains a stainless steel filter and included several paper filters that fit this model with an order form to order more filters.  But we found our regular coffee pot filters fit just perfectly, we just have to pop a hole in them which is done very easily.  This saved us money because their filters were a bit more expensive.


I hope this article doesnt give anyone the impression were too good for plastic.  Or worse, too good to visit our friends and family who cook with plastic spatulas.  We still have plastic items in our kitchen that we use everyday, lots of it.  Most of our groceries come in plastic.  The choice to be conscious about plastic is one weve decided to make for our family, and if our story inspires you, or the information helps you on your journey, awesome.  Please, please let us know if you have any suggestions on these items or any others.  Your comments are always welcome and appreciated!


"For the kingdom of God is not a matter of eating and drinking, but of righteousness, peace and joy in the Holy Spirit"  Romans 14:17


This post has been shared at:  HomeAcre Hop, Homestead Blog Hop, Country Fair Blog Hop


Read more

DIY Plywood Flooring An inexpensive hardwood alternative

,
https://youtu.be/wmRYKrfQjuk
Plywood flooring? Check out this inexpensive alternative to traditional wood flooring that you can do for less than half the cost. Although plywood flooring is not as durable as a solid wood floor it is by far less expensive and with the proper treatment can last many many years in great condition.


I started this project in order to give some relief to my middle daughter who suffers from allergies and asthma. The carpet was old and when you walk on carpet, no matter how clean you think you get it, it kicks up dust and allergens. It was time for something different for her. Although this was a priority we didnt have the  money in the budget for a new hardwood floor and after looking into other options (reclaimed wood, laminates, etc.) we decided to give the plywood flooring a try. I have seen a few other videos and posts around on the net and it seems most have pretty good results.


So, with a budget in mind I was off to our local building store (you guess which one). Our room was 165 square feet so I needed to get about six sheets of plywood to cover the area. That is based on 32 square feet per sheet with a little bit extra. I ended up going with a thicker plywood than I had originally thought because I really liked how flat the sheets laid and also for long term durability. I chose 23/32" pine sanded plywood for $29.98 per sheet. There are lots of choices here and you can go with a hardwood plywood or a thinner softwood to cut cost even further but I would recommend spending the extra money and at least getting the sanded ply that is about 3/4" thick.


Once I had the plywood chosen I loaded up with the help of some of the associates there and asked if they could hook me up and cut some of the plywood for me. After all, who wants to cut 6 sheets of plywood into stripes:) I was going for 8" planks since this divided evenly from 32 and it seemed like a good size for that farmhouse look. They said they could cut it into 16" stripes for me but no less due to safety concerns. ( I went back for more on a second trip and they did cut it down to 8" except for the last cut on each piece of plywood).

Back home I had already removed that nasty carpet and padding and also took out the moldings along the floor. I then laid down some roofing paper or tar paper that I had left over from another project to cover the subfloor. I used a staple gun to secure it to the floor. This will provide a sound barrier and also liquid barrier for the OSB subfloor below.


Out in the garage I used my $5 super fancy table saw to rip the boards that were not cut at the store into 8" strips. I then carried them inside and placed them in the room for a day or so to acclimate to the humidity and temps inside.


I wanted each plank to be a bit pronounced from its neighbor and my wife came up with the idea of rounding the edges. The thought of rounding the edges of all of those planks was a bit overwhelming at first but it actually didnt take that long at all. I made a quick sanding block from a piece of 2X4 and sandpaper and quickly knocked the edge off of all of the top edges. I went through first and picked out the best sides and stacked them accordingly to make things easier.


 Now the fun part, nailing! I started by using a chalk line to mark a line long ways down the room at close to the middle of the floor. This gave mea  good starting point to work outward in both directions with the planks. I didnt want to just start on one side and work all the way across fearing that I might be off by too much for the molding to cover once I reached the other side. I am using a pneumatic brad nailer to secure the planks with 1 1/4" nails.


I chose to use a random pattern with everything. So no two seams will line up and no two nails are right next to each other. This was easiest to layout, looks the nicest, and has the least amount of waste.


I did not leave any gaps between boards either on the sides or at the ends. Most of this wood is fairly "wet" still and will shrink a bit. Also, plywood by design does not expand and contract much vertically so I am hoping for no real expansion and contraction issues. Only time will tell and I will keep you updated on that.


 I couldnt be happier with the first stage of this process, it looks like a real old school farmhouse floor. The boards lay nice and flat and the sanded edges make them look like hardwood planks. In the next phase I will go through sanding and finishing the flooring to give them a classic hardwood look. Stay tuned for that article and video soon. Thanks for checking it out!


 Check out the full video of this project here


General Store - http://astore.amazon.com/simpsubulivi-20
You can also  follow us on....
http://www.pinterest.com/simplesuburban/
http://www.facebook.com/simplesuburbanliving
http://www.twitter.com/simplesuburban5
http://www.instagram.com/simplesuburbanliving
Read more

Senin, 21 Maret 2016

Garbage 101 Ways to Reuse Paper Waste Around Your Home

,

In our first Garbage 101 article, we discussed it was best to keep paper and other biodegradable materials out of landfills as much as possible.  We are lucky enough to have a recycling service that picks up our recyclables every two weeks, but we really try to reuse as much of our paper waste as possible before we even consider recycling it.

It all starts with our recycling bins where all of our paper waste is sorted.  We added labels to the bins for the girls.  We even had a LANDFILL sign on our trash at one point.  It was a good reminder to us all. 


The trick to sustainability is viewing your trash as a resource instead of garbage, and we have found lots of re-uses for paper around our home.

Cardboard makes great landscape fabric.  It keeps the weeds out, just lay the mulch right over it.


We have had a problem with rabbits eating our new bushes and trees.  So we reuse our paper towel and toilet paper rolls and wrap them around the base.  It has worked like a charm!  The SSL Family Dad has a post and video on this topic.


After we have weeded out the boxes for landscape fabric & storage, and the paper towel rolls for the trees, we then shred everything else.  But first we separate the glossy paper out.  The non-glossy paper and non-glossy boxes are shredded separately and used for the outdoor compost pile and worm bin. 

The glossy paper and boxes are then shredded and soaked in water for up to a week so that it all breaks down.  The SSL Family Dad then takes that soggy paper mess and turns it into paper logs with this paper log maker that he burns in our outdoor wood burning stove.  We use this stove to heat our pool in the summer and heat our garage in the winter. 

Here is the contraption my wonderful husband put together for the shredding and soaking of glossy paper.  He mounted our old paper shredder on top of a 55-gallon barrel that he cut in half.   Yes, were weird.  And yes, some things around our house are weird.  But because marriage is all about balance, I would like to think that I balance things out and keep things from getting TOO weird around here.  (Lets just not ask the SSL Family Dad about that, okay?)


This post has been shared at:  Homestead Barn Hop, Homestead Blog Hop, The Backyard Farming Connection Hop
 
Read more
 

Easy anf Fun Make an Aquaponics Copyright © 2016 -- Powered by Blogger